Control board repair
Description
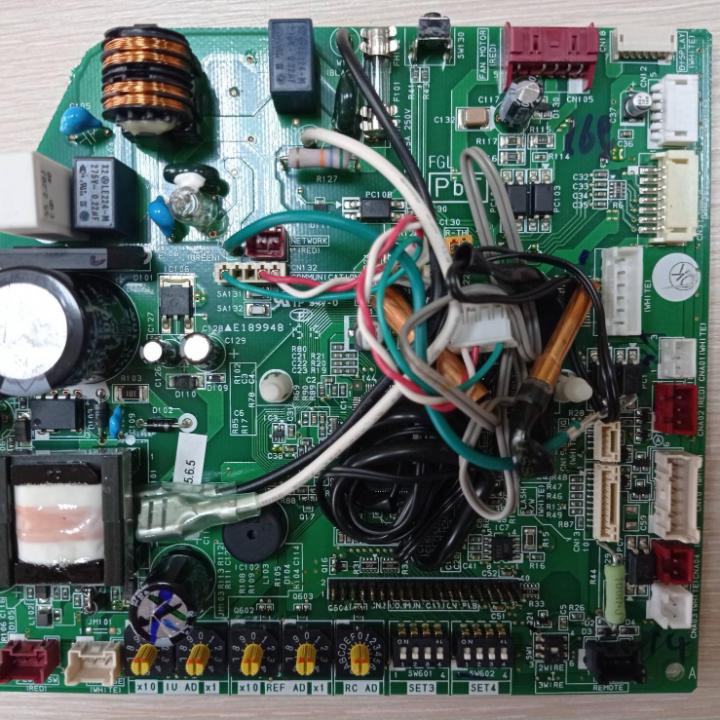
Repairing the control board of an air conditioner’s indoor unit involves several steps depending on the nature of the issue. Here's an outline of the general process: 1. Diagnostics: Check the power supply (input voltage, any short circuits). Inspect for external damage (burnt components, signs of overheating, cracks). Use a multimeter to check the circuits and components (e.g., transistors, diodes, resistors). 2. Component Replacement: If damaged components are found (e.g., capacitors, diodes, transistors), carefully desolder them and replace them. It's crucial to use parts that match the original specifications. 3. Microcontroller/Processor: Sometimes issues are caused by a malfunctioning microprocessor or software corruption on the control board. In such cases, you may need to reprogram the microcontroller or replace it. 4. Check Connections and Contacts: After replacing components, verify all connections on the board, as well as the cables connecting the board to other parts of the air conditioner. 5. Testing: After repairs, conduct thorough testing of the system to ensure all functions are working correctly (cooling/heating modes, fan speeds, and other parameters). If the issue is severe or a component cannot be repaired, the entire control board may need to be replaced.
Similar products