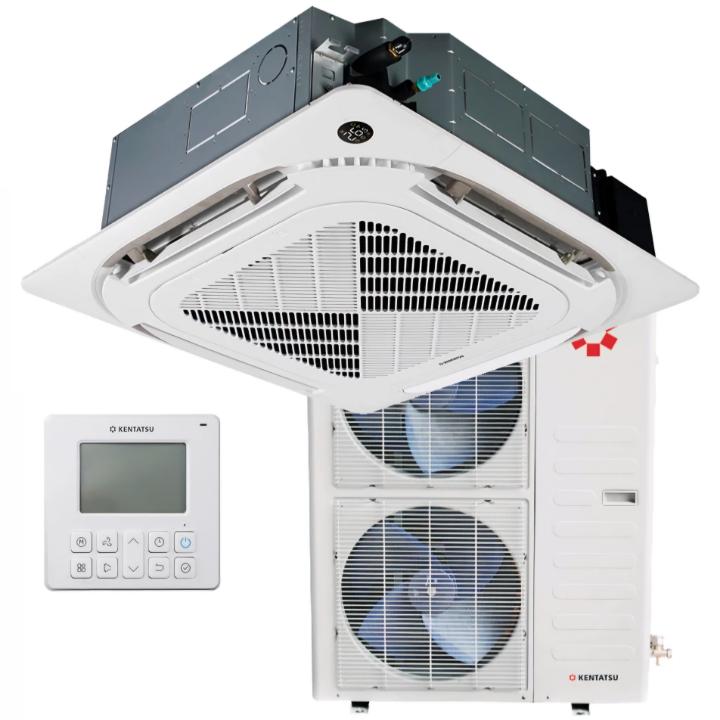
Cassette air conditioner for up to 180 square meters.
Description
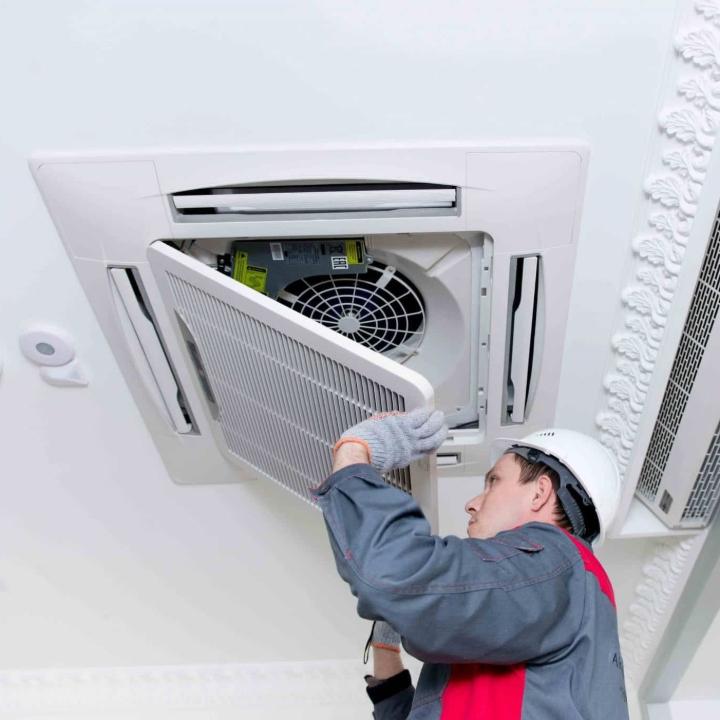
The installation of cassette air conditioners involves several steps: 1. Choosing the installation location: Cassette air conditioners are typically installed in suspended ceilings, as their design allows for even air distribution throughout the room. The location should ensure good air circulation. 2. Installing the indoor unit: The indoor unit of the air conditioner is mounted in the ceiling cavity or suspended ceiling using special brackets. It should be installed in a way that does not obstruct airflow and allows for easy maintenance. 3. Installing the outdoor unit: The outdoor unit is installed outside the building or on the roof, depending on the design requirements. It may need to be mounted on a wall, roof, or platform. 4. Laying pipes and cables: To connect the air conditioner, refrigerant pipes and electrical cables must be run from the indoor unit to the outdoor unit. All connections must be airtight and secure. 5. System connection: After the pipes and cables are routed, all system components, including electronics and refrigerant lines, are connected. A leak test is also performed. 6. Testing: After installation and connection, the air conditioner is turned on, and its operation is tested. Attention is paid to the even distribution of air and the absence of unusual noises. 7. Adjustment and setup: The air conditioner is adjusted to optimal operating parameters (temperature, ventilation modes) to achieve maximum efficiency. Installing cassette air conditioners requires precision and accurate calculations, so it is best to leave the installation to professionals.
Similar products